How to
Social media sites are today’s go-to channels for sharing content. After all, most people are eager to repost links to interesting articles or fun videos on Facebook, LinkedIn, and Twitter to spike new conversations. Adding new posts to your brand’s social media pages should thus be a top priority, as it’s a great way to encourage users to interact with your content—reacting, starting conversations on your post or sharing it privately with their friends and followers being most likely and preferred.
When it comes to displaying information on sites like Facebook, content formatting is almost entirely out of your hands. The data that gets scraped from your site each time you post a link sometimes feels completely random. Fortunately, there are some tips and tricks you can learn to maintain as much control as possible over how your links are displayed.
A little-used but nevertheless extremely useful tool is Facebook Debugger. The service is maintained by the Facebook for Developers team and lets website owners scan their content to get a quick preview of what shared links will look like on Facebook. It’s a simple way to ensure maximum impact for your shared content, and it’s surprisingly easy to use.
Facebook Debugger lets you see your site from Facebook’s point of view. It shows raw scraped data along with a simple preview of what shared links from your site will look like once they’re on Facebook. It’s a quick and simple way to check for errors and monitor how your brand appears to the general public. If you’ve ever shared a piece of content and noticed that either the title or image preview was incorrect, using the debugger is the first step you’ll take towards fixing that issue.
Facebook Debugger is a tool for discovering errors, but it doesn’t actually fix them for you. To set things right, you’ll need to dive into your own website’s code and make changes from there. Facebook, Twitter, and other social media sites use the Open Graph tag standard to structure shared content. It’s this data on your site that the debugger will point out needs fixing.
Starting off with Facebook Debugger is easy. All you need is an active online publication and a web browser–and that’s it! Visit the Facebook Debugger tool and you’ll see the main interface. Type your site’s URL in the main box, click Debug, then you can get a quick report.
Facebook introduced Open Graph around 2010 in an attempt to provide a streamlined method for marketers and social media sites to interact. The protocol gives site owners a measure of control over how information is shared with social sites such as Facebook. The tags follow an easy-to-spot format (og:tag_name) and can be implemented in just a few seconds. They help keep data accurate so that publications can get more out of their marketing efforts.
Once you run the Facebook Debugger, you’ll see a few pages of information displayed in a list format. These are the technical details of what Facebook sees when it tries to fetch content from your site. Anytime you or a Facebook user adds one of your URLs to the social media outlet, Facebook fetches this same data from your site and uses it to build a social post.
The most important fields are the warnings at the top of the page and the link preview below. Warnings are any issues Facebook thinks you should take a look at, including things like missing tags or corrupted Open Graph data. The link preview shows what shared links will look like on Facebook. If any of the details are incorrect, including the thumbnail image, you’ve got some Open Graph data to edit.
After the initial blocks of information, the Facebook Debugger provides a detailed outline of everything else it can see on your site. This includes a tag-by-tag breakdown of supplied information, a raw copy of your “og:” meta properties, and a few links for finding more information about Open Graph and the errors you may have encountered.

Open Graph tags and Facebook Debugger errors aren’t as difficult to fix as you might think. The tricks and tips below can give you a massive head start on correcting any layout errors in your site’s shared Facebook content.
Open Graph tags are the central focus of the debugger report. Most sites are probably using them in one form or another, but it doesn’t take much to throw out a scraping error or to spawn missing information. However, you don’t necessarily have to run the Facebook Debugger tool to see if your site is using Open Graph tags.
The other alternative is to go to your main page and reload to get the latest, non-cached version. Right-click anywhere on the screen and choose View Page Source (Ctrl+U on Chrome). Now simply search through your code (Ctrl+F) for any tag that starts with “og:”. If at least one appears, then you know Open Graph tags are deployed to some degree on your site.
Facebook, LinkedIn, Google+, and Twitter all use Open Graph data to structure shared link previews. If your content doesn’t look right on these sites, chances are you need to make some edits to your Open Graph data. It’s quite possible to dive in and fix these tags manually, but why get your hands dirty with code when you can simply use a plugin?
There are two main resources that help WordPress users to customize and fix Open Graph errors: Yoast SEO and Open Graph for Facebook. Yoast is a powerful tool that does a lot for your site’s readability and SEO ranking in general. It also adds Open Graph meta tags to your site, pre-filling crucial tags with important information. With Yoast on your WordPress, you might never see any Facebook Debugger errors in the first place.
If you just want to manage Open Graph tags, the second plugin is probably your type of thing. It lets you directly manipulate tag content using a single page of editable string fields. Deploy the tags to your pages automatically, or edit individual blocks to personalize how certain pieces of content appear on Facebook, all without having to manually edit your theme files.
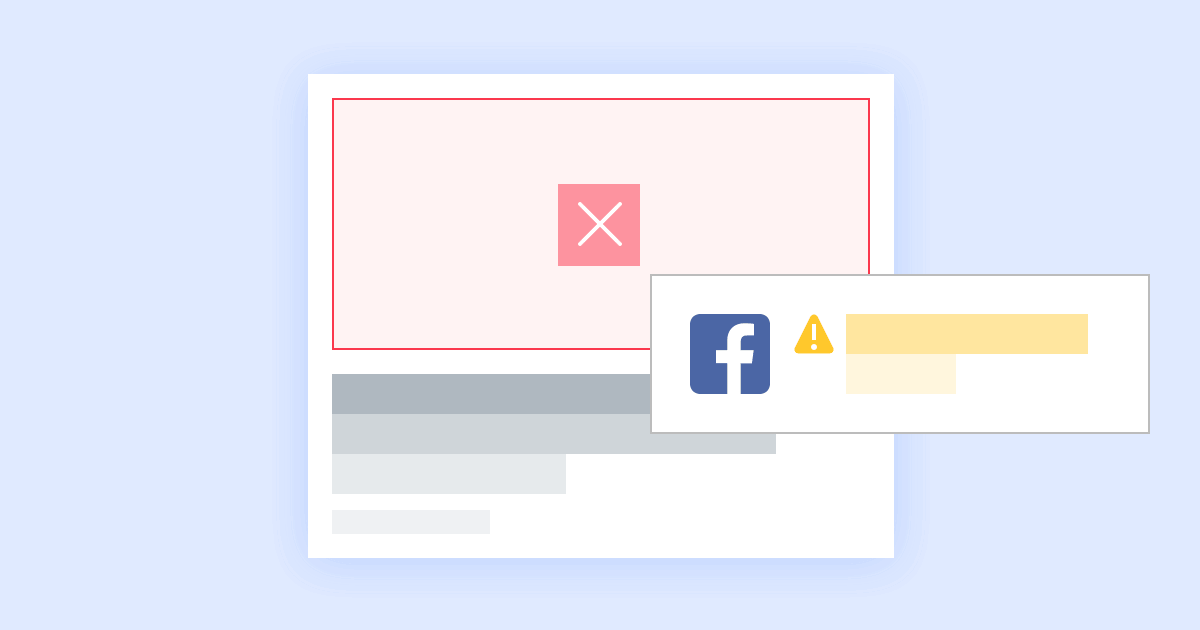
Nothing is more frustrating than sharing a piece of content from your site only to see an unrelated picture on the Facebook preview. This is one of the most common problems users run into when checking the debugger report, and it can cost you a lot of clicks.
The trick to fixing an incorrect image in the preview box is to deploy the right Open Graph tag. Every time Facebook scraps data from your site, it looks for a unique tag to decide which image to display as a preview. If nothing is specified, it will pull one of the topmost images, which could be anything from a banner ad to a placeholder element.
You can quickly fix this by adding the following code in your site’s header just below the head:
meta property="og:image" content="IMAGE URL"
Swap the “IMAGE URL” part with a direct URL to your site logo. This will ensure any link shared on Facebook that doesn’t have a custom image specified for that page will display your logo by default, rather than some random image. Now your content will always be properly branded, even if there’s a scrape error involved.
Do you want to put some Open Graph tags on your page without installing a plugin? Facebook provides a quick method for doing just that in its Like Button generator. This simple tool lets you create Like buttons for any piece of content on your site, one at a time. It includes a block of “og: tag” meta properties for better sharing performance, as well. It’s not a perfect replacement for a dedicated sharing plugin, but it’s fully compatible with Open Graph standards and can be used for a quick fix when you need to share a single page.
Visit the Like Button generator, choose a direct URL to the page you want to share and enter it into the configurator. Type in a pixel width for the plugin (smaller is usually better), then customize it choosing from the options below. You’ll see a layout preview at the bottom, making it easy for you to tweak things to your liking before pressing the Get Code button.
The code box below all of this shows you in detail what the Like Button configurator is doing. Notice the “og:” tags at the top? These point social media scrapers to the most pertinent information on your site. By entering and customizing this into your page’s code, you can instantly fix any Open Graph errors and start promoting your links again.
Open Graph data is remarkably simple to use. It’s easy to get lost in the details, though, especially when the Facebook Debugger throws out complicated error messages. Fortunately, most errors can be fixed by tweaking six meta properties at the top of your page.
To make these changes, go to the Open Graph Generator tool and fill out the boxes with your site’s details. After you’ve entered everything, you should see a block of text below that looks something like this:
<meta property="og:title" content="TITLE"/>

<meta property="og:site_name" content="SITE NAME"/>

<meta property="og:url" content="URL"/>

<meta property="og:description" content="DESCRIPTION"/>

<meta property="og:type" content="article"/>

<meta property="og:image" content="IMAGE URL"/>
Copy this text, then go to your site’s header or index page and paste it directly beneath the head tag. Save the changes, reload your site, then check the Facebook Debugger again and see if the errors are cleared out.
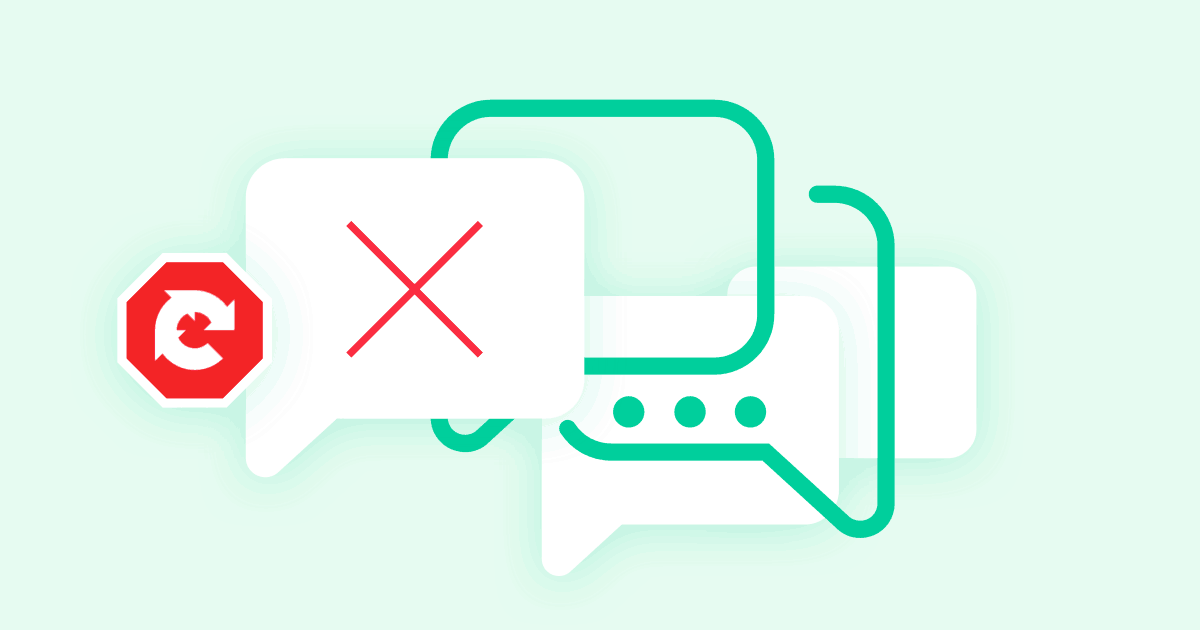
As soon as you enter your site URL and take a look at the Sharing Debugger output, the first place your eyes dart to is the link preview. Push your perspective up just a little and you’ll see a Time Scraped box along with a date. This is the last moment Facebook fetched fresh data from your site—it could be days, weeks, or even months old.
If you have any errors in the debugger’s output, including missing information or generic warnings, you may want to click the Scrape Again button right away. If you’ve made any changes to the Open Graph meta tags, you’ll also want to hit the button. This will prompt Facebook to re-fetch core data from your site, bringing everything up to date, including the link preview structure below.
An unusual quirk of the Scrape Again button is that you often have to run it twice before it delivers accurate results. If something still looks out of place after you click it, don’t be shy about clicking it again.
Once you have your debugging errors sorted out and your content publishing in the best possible shape, it’s time to speed up your sharing game. Maximizing Facebook returns means more than just posting every article you release on your social media page. Follow the tips below and you’ll notice an uptick in likes, shares, and visits.
Facebook lets users post four types of content: links, images, videos, and text updates. Video posts tend to get the most clicks, but they’re expensive to produce and aren’t well-suited for all brands. Posting image shares may look attractive, but again, it’s not ideal for all businesses.
Before sharing your content, think about which type of post would best serve your needs. If raw traffic is what you’re after, consider a succinctly-worded link post with a direct URL to your content. Text updates tend to be remarkably effective, as well. Keep it short, tantalizing, and sweet and you’ll earn the most conversions.
Your content plan should include a detailed roadmap outlining the layers of content you’ll cover each month. The more you focus on certain themes, the more likely you’ll gain traction with various SEO key phrases. The same holds true for Facebook, only the results can be more impressive.
Let’s say you regularly post about tech topics on your blog. You may want to group your cryptocurrency news updates and release them on Facebook at around the same time, then push gaming hardware reviews later during the week. The more you group and layer your content blocks, the better your chances for more likes and shares.
Short, punchy text gets more clicks. The average attention span of a web user actively consuming content is around eight seconds, and we think that’s a generous estimate. What you want is to grab attention as quickly as possible and entice an immediate click. Do this by stripping out unnecessary information and focusing on an emotional experience. Users generally just skim posts, so you only have the space of a few words to make them give your content a second look.
Facebook posts with hashtags tend to outperform similar posts without them. Even if it’s just a single hashtag directly associated with your business, it tends to drive more clicks and encourage users to like and share more frequently, as they feel like they’re participating in a group activity, rather than just clicking on a static update.
Facebook users can both like and share content. Both cost about the same in terms of their time, but they’re far from equal when it comes to driving traffic to your site.
Likes are a way for Facebook users to nod in agreement with anything you post. They’re good to have, but they don’t do much in terms of outreach. Shares increase a post’s reach exponentially. It communicates something about both you and the sharing user, creating an instant bond with everyone who comes across it.
Clicking the share button is a way of saying your users liked the content so much, they wish they made it themselves. To get more shares, focus on delivering that type of content to your target audience.
Blindly pushing content links to Facebook misses the crucial element of time. More people use Facebook at certain times of day and certain days of the week. The best days to post tend to be Thursday and Friday, with the worst being Monday, Tuesday, and Wednesday. This could be different for your business, however, so take a close look at your click analytics to see when people are more likely to interact with your brand.
Facebook Debugger is an incredibly useful tool for diagnosing link sharing errors and fine-tuning your brand presence on social media. It provides just the right amount of information to improve your site without drowning you in details. Once you’re familiar with Open Graph tags and how they operate, you can supercharge your Facebook links in seconds.
It’s worth noting that Facebook regularly changes how it interprets Open Graph data and displays it on its site. Even if you don’t have a specific issue to contend with, it’s a good idea to check the Debugger on a regular basis and follow Facebook’s tips. Sometimes new customization options are opened up, allowing you to display bigger or more unique images that are sure to attract countless clicks.