Github Development on Windows
A step-by-step tutorial on how to manage your site’s source code using Github Desktop on Windows at Presslabs. Keeping track of your code’s modifications has never been easier.
How to set up Github Desktop on Windows
The easiest way to make changes in your source code is by using Github Desktop. It brings all of git’s functionalities and pairs it with a visually easy interface.
First, you have to install the Github Desktop App, available at the following link: https://desktop.github.com/ .
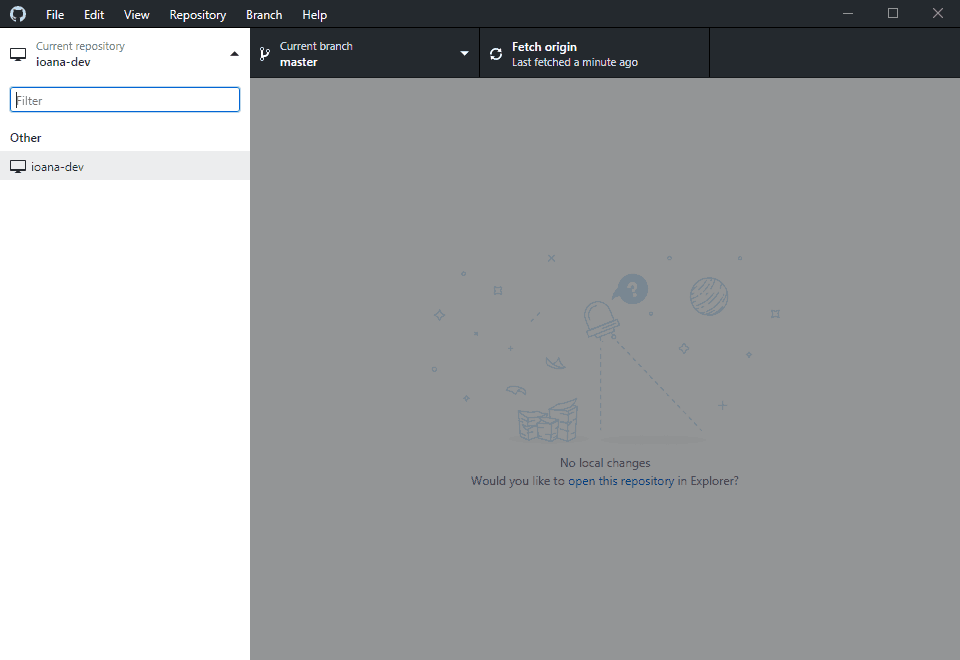
Once you have installed the app, sign in into your Github account, if you already have one, or skip the first step. Next, you have to configure Git with your name and mail, and then the app is ready to use, and should look like in the figure below.
How to clone your code locally
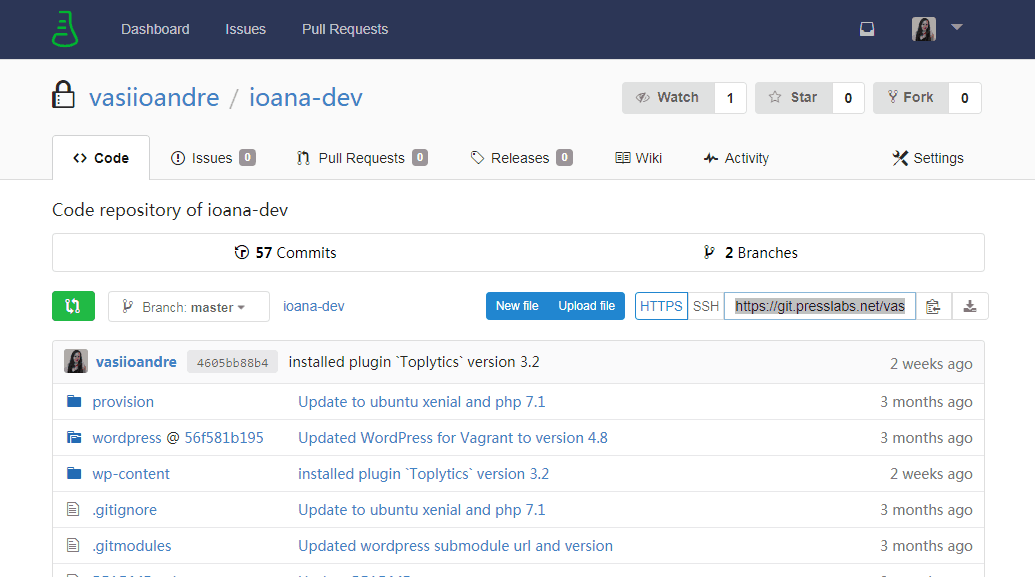
Your source code is stored on a git repository that has the name of your instance. You can get your clone URL from both the Managed Hosting Dashboard (Sites -> Access section), and Gitea interface . Check our Access section for more details.
1. via HTTPS (Recommended)
- Go to our Gitea Dashboard (as seen below):
https://git.presslabs.net/<username>/<instance_name>and copy the HTTPS URL from which you will download your source code, which should be something like:https://git.presslabs.net/<username>/<instance_name>.git.
(Don’t forget to replace <username> and <instance_name> with you username and the name of the instance for which you want to clone the source code.)
- On GitHub Desktop, press the
Clone a repositorybutton and paste the selected URL in the window that opens (as shown below).
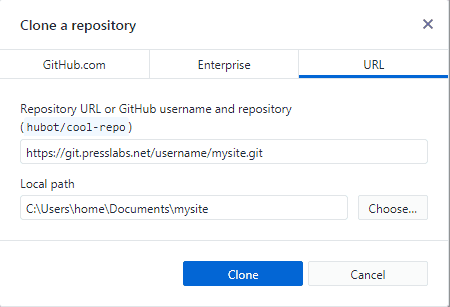
You also need to select a Local Path towards the directory where your source code will be cloned. Be aware that the directory must be a new one. By default, when you paste the git clone url, Github Desktop fills in the path for your repository, setting also the name of your local repository as the name of your instance.
Thus, your source code will be stored in the directory mysite, which is the name of your instance. It’s not a requirement to name your local folder after your instance, but it’s a good practice.
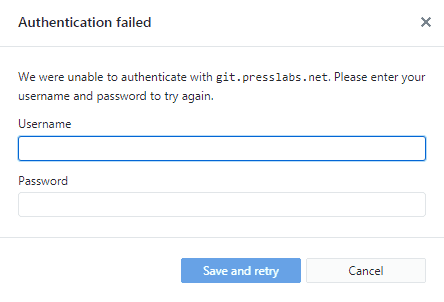
Press the Clone button and you’ll be asked to provide a username and a password, which are your Managed Hosting Dashboard credentials.
After this is done, your code will be cloned and you will see the GitHub Desktop application interface.

2. via SSH
To clone a repository via SSH, you need to introduce your public key on the Managed Hosting Dashboard. Check our tutorial on How to configure your SSH Keys for more info.
Go to the Access Section on our Dashboard (as seen below): https://o.presslabs.com/#/sites/<instance_name>/access/git or to our Gitea interface and copy the URL from which you will download your source code, which should be something like: ssh://git@git.presslabs.net:<username>/<instance_name>.git.
(Don’t forget to replace <username> and <instance_name> with you username and the name of the instance for which you want to clone the source code.)
On GitHub Desktop, press the Clone a repository button and paste the selected URL in the window that opens. Be aware that in order for the cloning to work, you need to have git.presslabs.net along with your public key in your known_hosts file.
You also need to select a Local Path towards the directory where your source code will be cloned. Be aware that the directory must be a new one.
Press the Clone button and you’ll see the source code being cloned, and after this is done, you can see your repository in the GitHub Desktop application interface.
How to commit and push changes
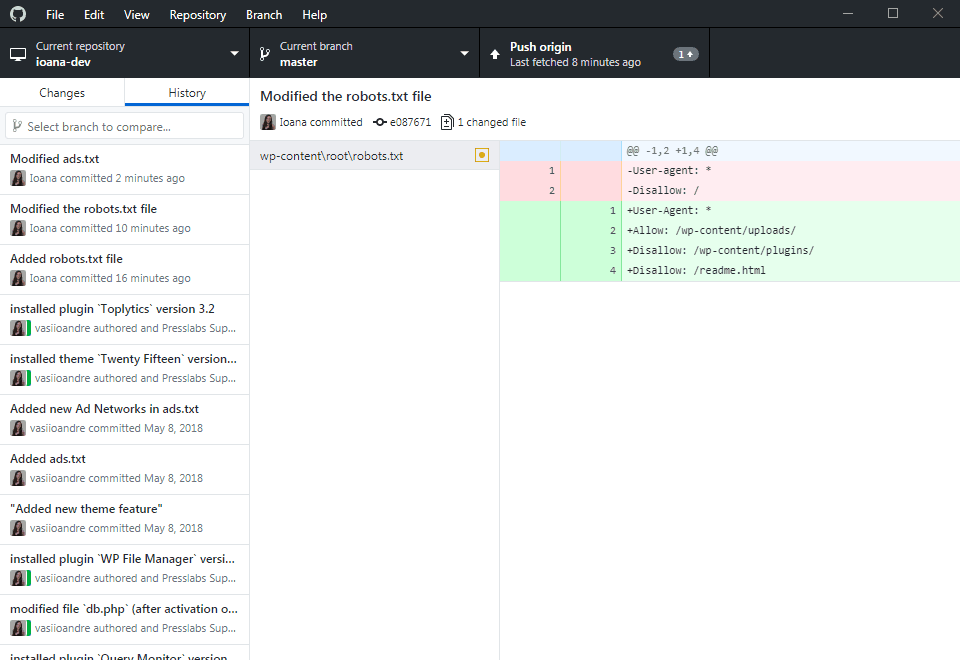
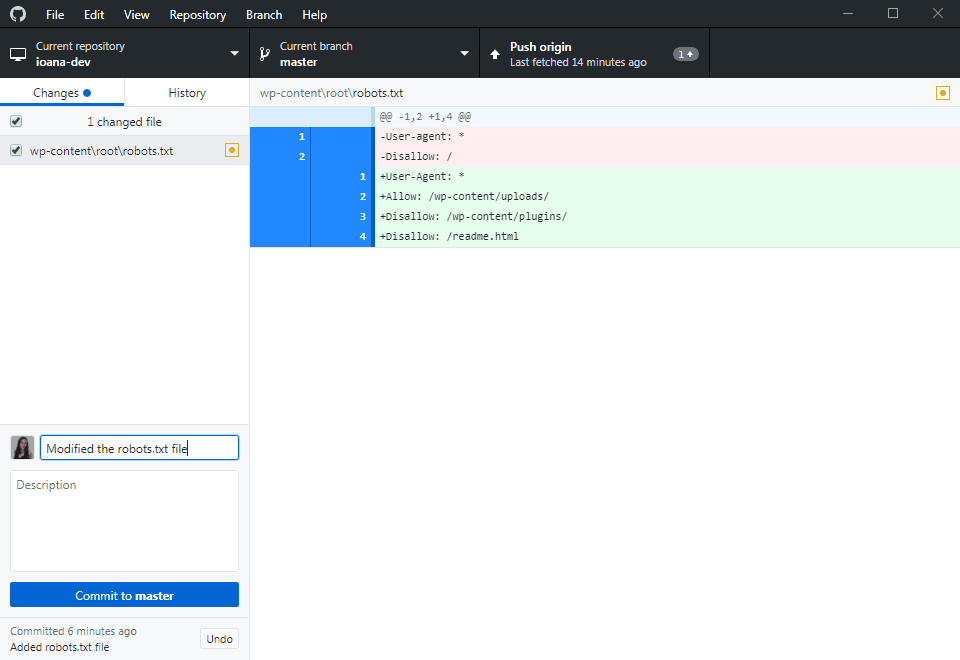
The whole point of git is to keep a record of all the changes that have been made in the code. To do that, there are two main commands: Commit to master and Push to origin.
A commit records changes to the repository, while a push updates remote references along with associated objects. Thus, the first one is used in connection with your local repository, while the latter is used to interact with a remote repository (in our case, your remote source code).
The red line has a - sign in front of the code which highlights the removal of the line, whereas the green code lines have a + sign, meaning an addition of the line.
In order to do commit your changes, you have to select the modified files, write a summary, and press the Commit to master button. There is the possibility to undo the commit by pressing the Undo button.
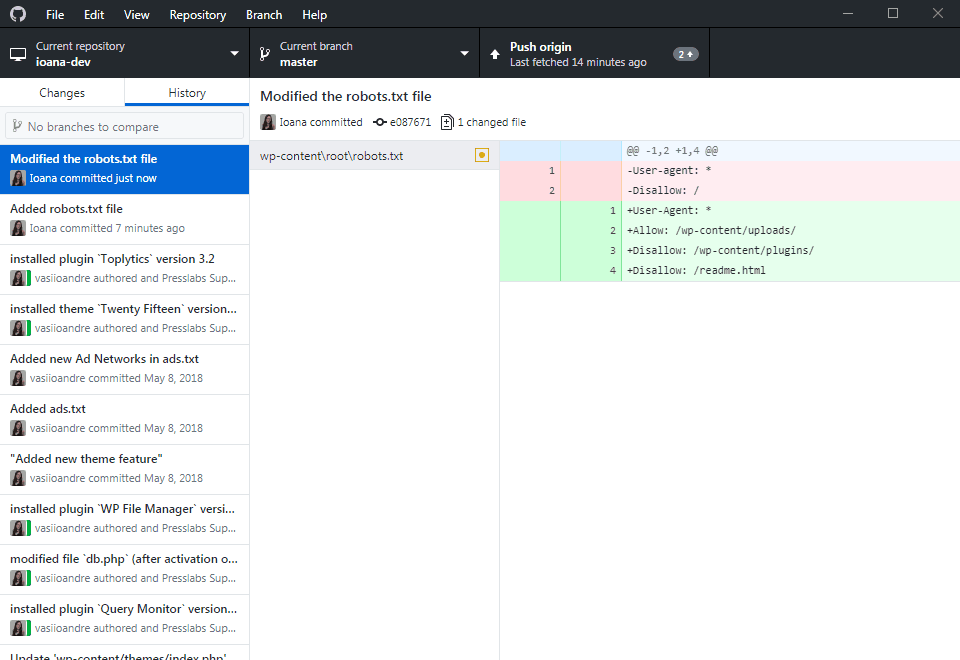
Next, your commit will appear in the History section. This section shows the history of all the commits that have been made, along with detailed information like the author, the date a commit has been made, and the changes.
The commit was made locally. In order to upload it to your site’s source code you have to press Push to origin so that the changes will be pushed to the remote repository.
In case that there are multiple people working on the same project, there is a high chance that changes were made on the server that you don’t yet have. To synchronise the code, use the Fetch origin command. This command pulls your code from our server.
This command transforms into a Push origin command as soon as you have made some local commits. To push these commits on origin (which is the server) means to upload them to the server. Without doing that, they remain local on your computer.
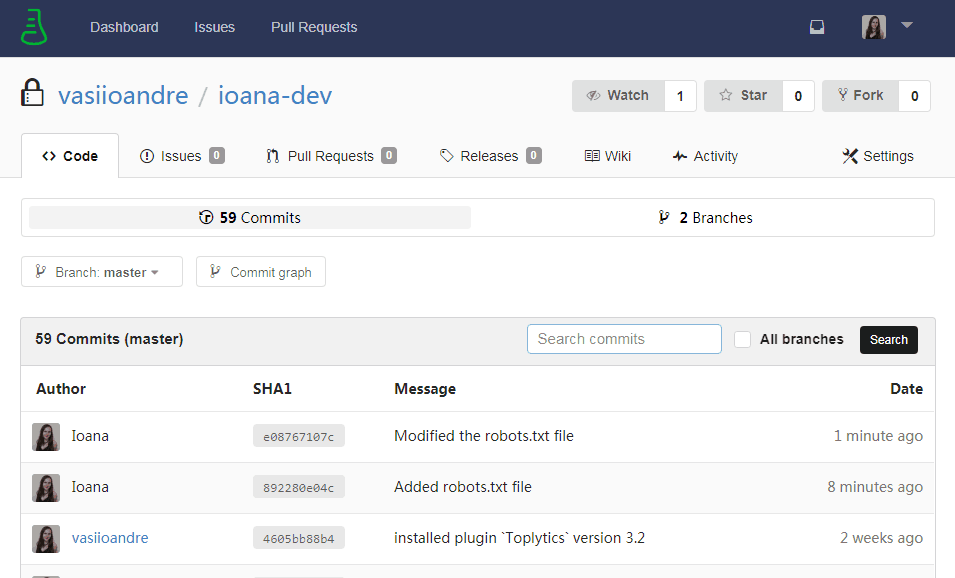
You can see your commits now in our Gitea interface, at git.presslasbs.net , in the Commits section of your repository. You can see more details about the changes in one commit by clicking on the SHA of the commit in question.
Current Repository vs Current Branch
Git stores information in repositories, which contain the commits that were made, and their references, called heads. At Presslabs, you have a repository for your production site, and in case you have a dev-site, a corresponding repository.
Here, you can see the current repository, and all the things you do in the interface are correlated to this repository. Clicking the arrow in this field will open a panel with all your local repositories, and you have the possibility of choosing another one (as shown below).
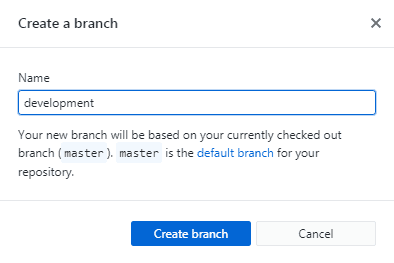
A branch is a development environment. The current branch when you clone a repository, is the master branch, and all your commits will be made from this selected branch. You have the possibility to create branches that converge from the master branch. It is recommended that when making changes in code, to create a new branch, in order not to mess with the production (live) site. To create a new branch, press the New button, and enter a name for your new branch.
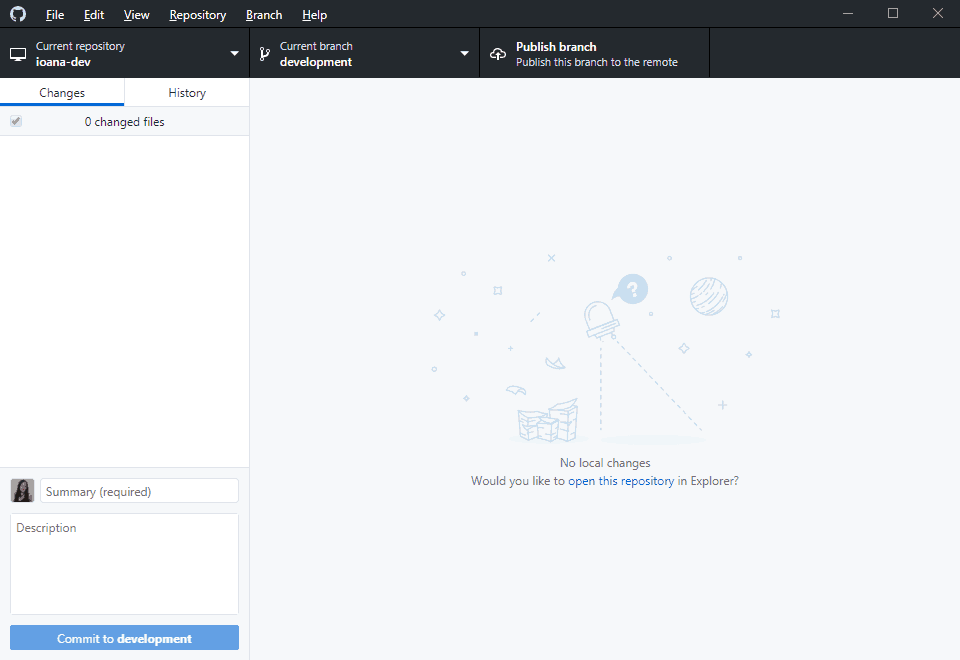
Creating a new branch will automatically take you to that new branch. Also, you can simply switch between branches with a simple click.
However, if you create a new branch and you want to push the modifications from that branch, you need to inform the Presslabs Support Team so we can set the remote repository of your site to follow the new branch. Otherwise, any modification you make on that new branch will not be pushed to the remote repository’s master branch, which means your changes will not be implemented on your site.
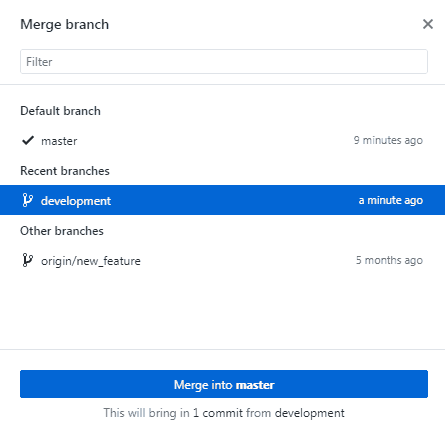
The recommended way is to merge your development branch into your master branch, and then push your changes from the master branch. Merging the branch will combine the commits from the two branches into one unified history.
Let’s say that you modify the ads.txt file on the developer branch and commit the changes. To merge the developer branch into the master branch, go to your master branch, then to Branch -> Merge into current branch. Then you need to select which branch you want to merge into the master branch, in this case the development branch.
Now if you go to the History section, you will see the commits from both branches.