Git development with Fork on Windows
This is a step-by-step tutorial on how to manage your site’s source code by using Fork on Windows. Fork is a fast and simple git client for Mac and Windows, and Presslabs friendly, too.
In this tutorial, we will show you how to easily set up and make changes to your site’s source code using Fork, an open-source git client for Mac and Windows, which you can download here .
After installing the app, you will be asked to configure the User Name and the email that will be associated with your commits, as well as the Default source folder, which is the default folder where the repositories you clone will be stored.
Clone your repository
Each site hosted by Presslabs has a git repository associated with it, containing your site’s source code, along with all the changes that have been made along the way. For more details, check our git specifications .
Additionally, we offer free development sites for development, so you should have at least one development site. This can be set up in two ways, so please check out our Development guidlines for insights regarding your development life cycle, depending on your development site setup.
NOTE
Make sure to make your changes on your development site first, and only after proper testing, push them on the production one. So start up by cloning your development repository.
To clone your repository locally, go to File -> Clone, which will open the following window:
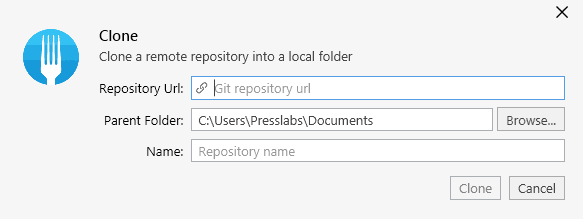
Here, you need to introduce your repository URL, which you can get both from our Dashboard and our Gitea interface, check our Access section .
We recommend cloning your repository using the HTTPS URL and your Managed Hosting Dashboard credentials. The alternative is to set up your SSH keys and clone your repository using the SSH URL.
Your HTTPS repository URL should be something like: https://git.presslabs.net/<site_owner>/<instance_name>.git.
The Name of your local repository should be the name of your instance, e.g mysite-dev. This is not a requirement, but it’s a good practice.
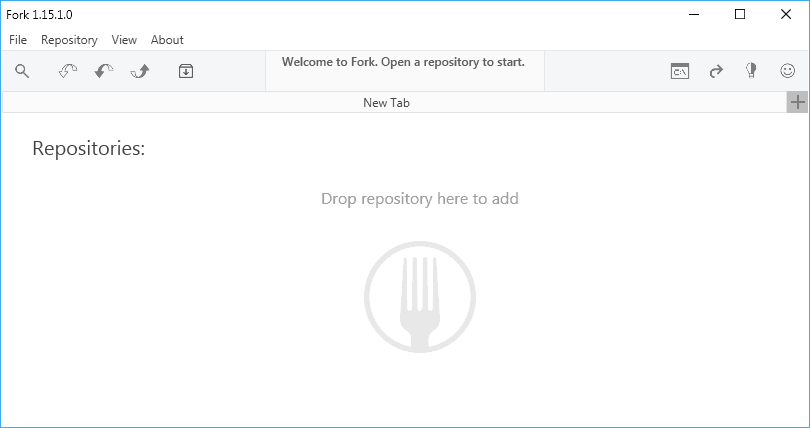
Press Clone, enter your Managed Hosting Dashboard credentials, and your repository will appear in the Fork interface:
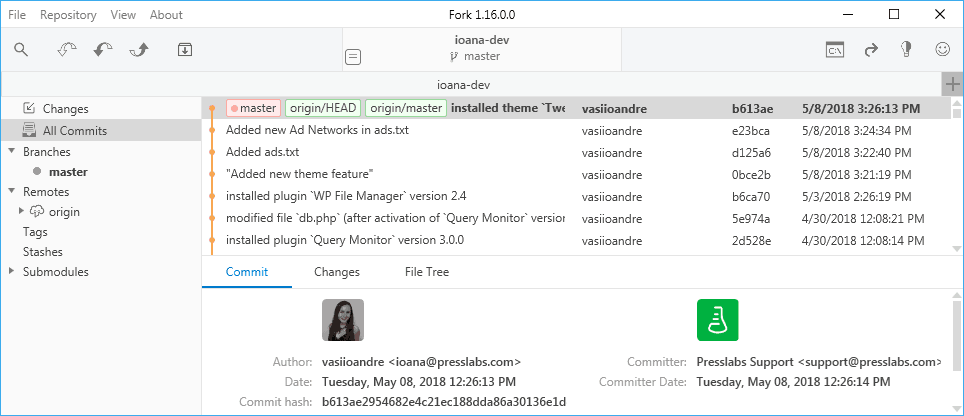
In Fork, you can have multiple repositories opened in different tabs, which allows you to quickly navigate to your repositories and organize your workflow efficiently.
How to commit and push changes
A commit records the changes to your repository (site’s source code) that were made to a file or directory. You can see in the Fork interface all the commits that have been made. The next steps show you how to make commits that have some changes in your source code and ultimately push them to your development site or production site.
Step 1: Create a development branch
The commits are stored on a branch, in this case in the default master branch. A branch is essentially an independent line of development. Creating a new branch allows you to work on new features or bug fixes in an isolated environment.
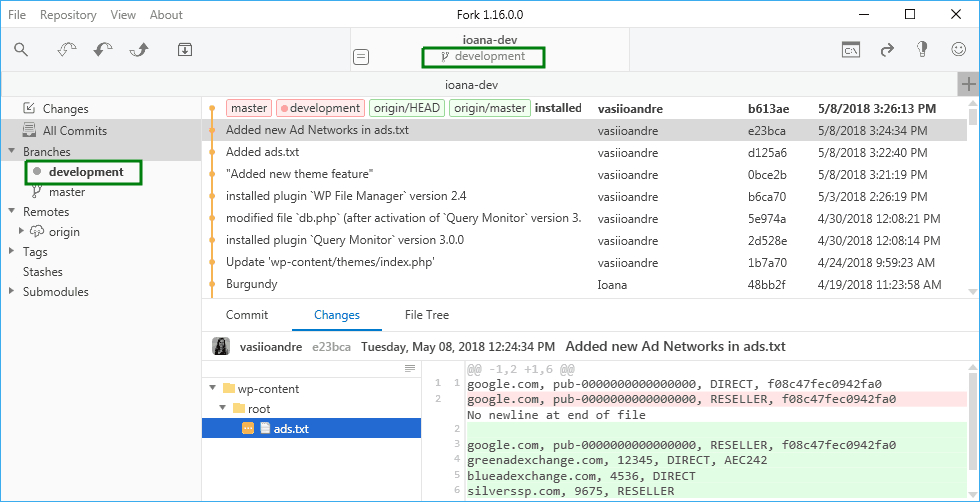
You can easily create a new branch from Repository -> Create new branch, which will automatically take you to that new created branch. You can easily switch branches by double-clicking them.
I have created a development branch named development:
Step 2: Make commits with your changes on the development branch
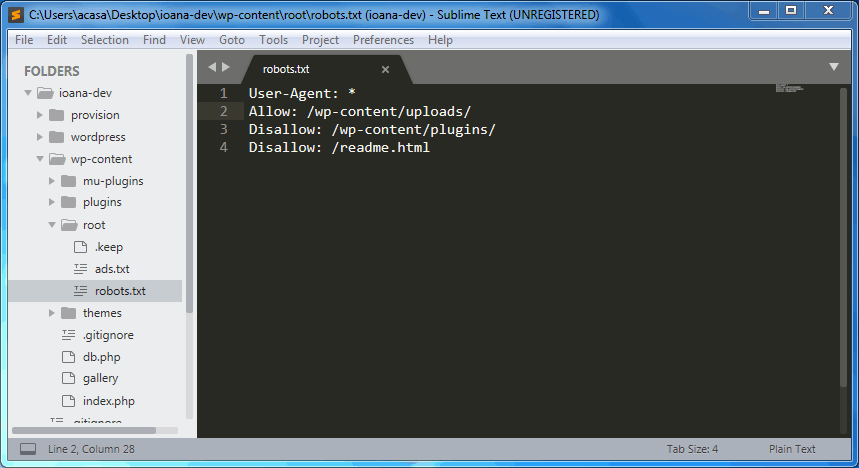
Let’s say you want to add a robots.txt file, which is of great importance for search engines such as Google to index the web content of your site.
First, open your repository in your favourite text editor (e.g.
Sublime Text
) and add the robots.txt file in the /wp-content/root/ directory:
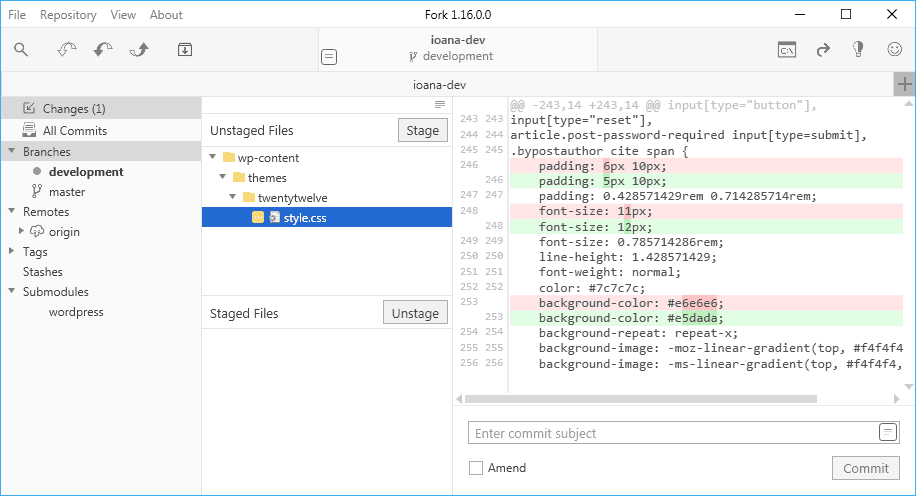
Now if you go back to the Fork interface, on the Changes section, you will see the newly added file.
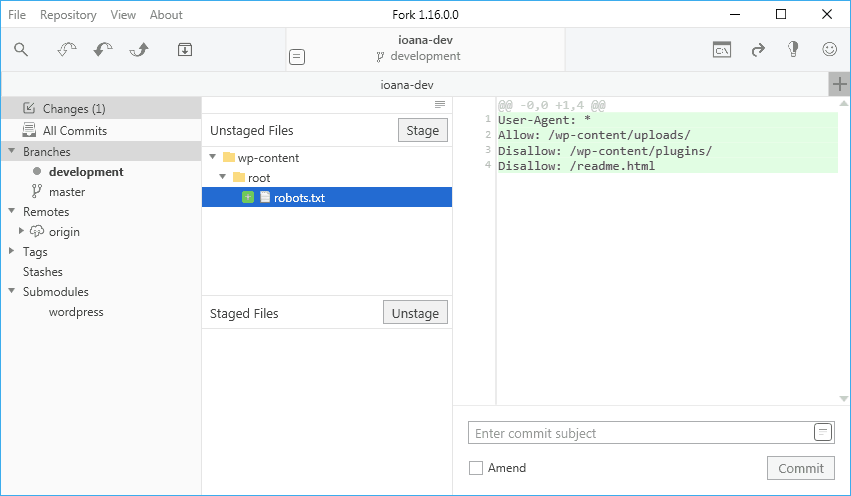
Fork shows you all the files you have modified and not committed yet. The green lines show the lines you have added, whereas the red lines show you which lines you have removed. Now you have to stage these changes, by pushing the Stage button. This adds your modified files to the queue to be committed later.
The next step is to commit these changes.
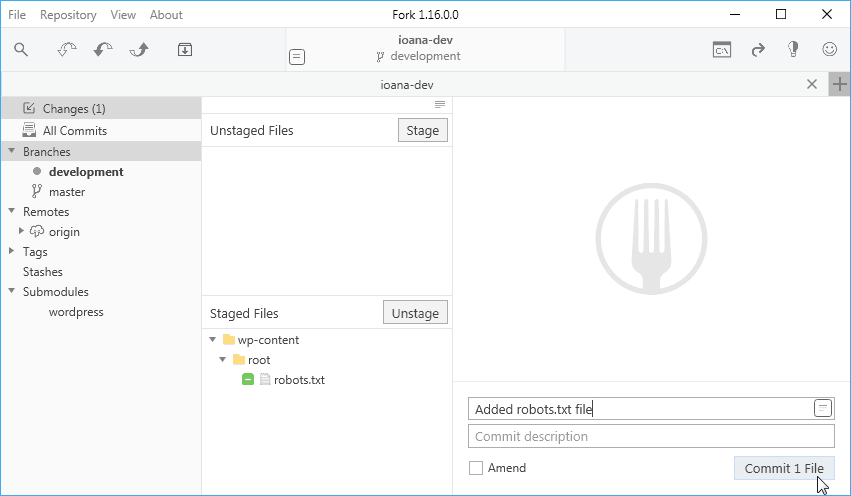
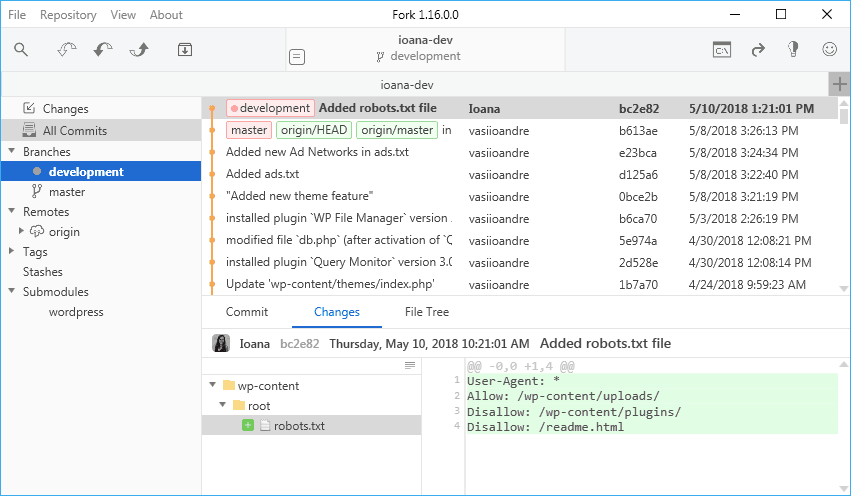
When committing your changes, you are required to enter a commit message. The commit message provides comments regarding the changes you have made, so they should be as descriptive and easy to understand as possible. Press the Commit button and your changes will appear in the All commits category.
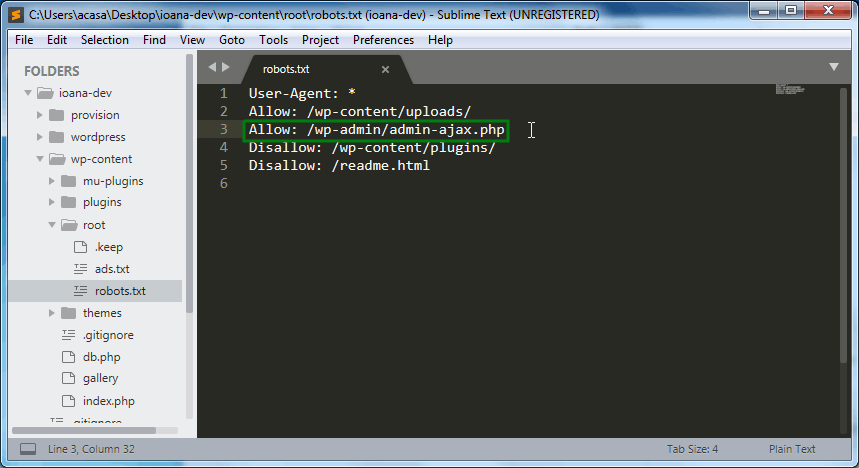
Let’s make some more changes. Let’s add another record in robots.txt file, for example allow the admin-ajax.php file, then stage and commit the changes.
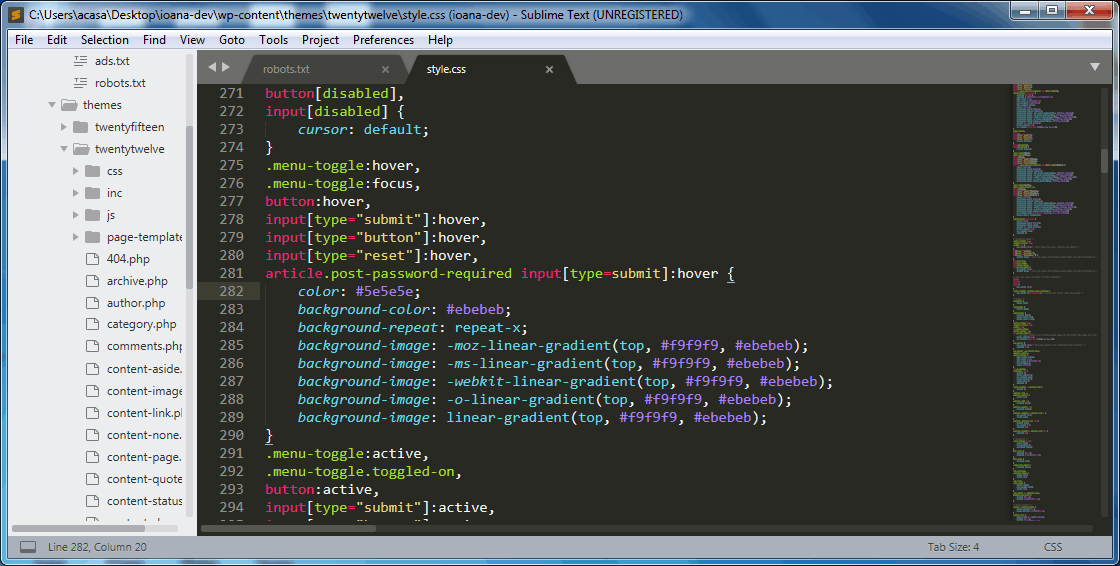
Another common action is modifying the look and feel of your theme from the style.css file:
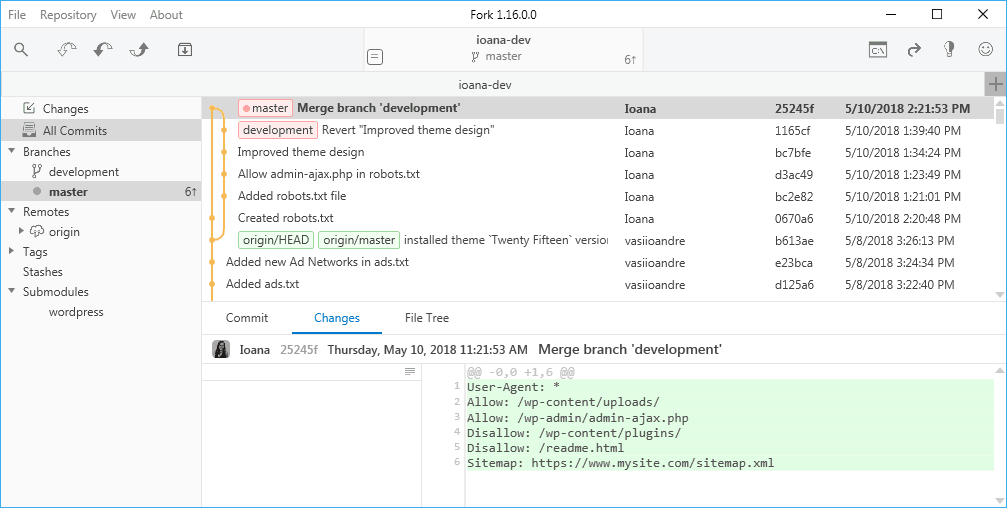
You can visualise all these changes in the All commits section.
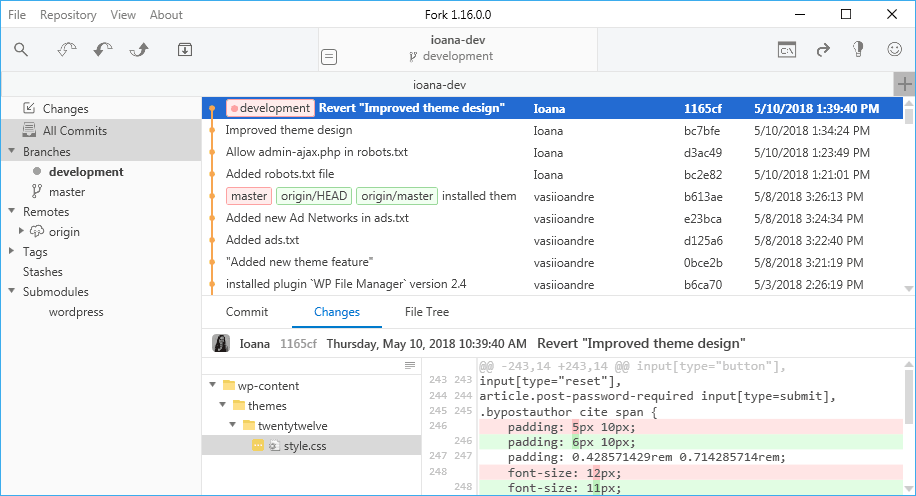
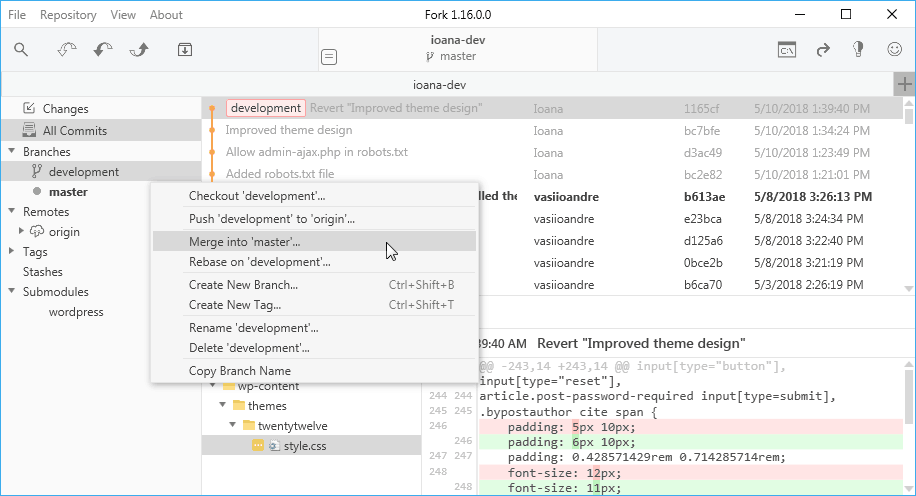
If you realise you made a mistake, you have the possibility to Revert the commit in question.
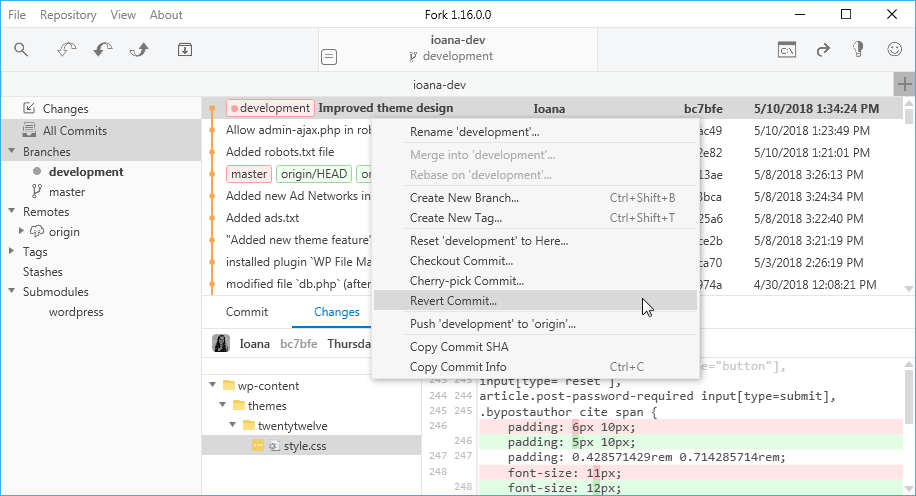
You can revert a commit by right-clicking it in the Fork interface and choosing the Revert option. This will create a new commit that will undo the changes from the commit you want to revert.
Step 3: Merge your development branch in the master branch
After you finish developing your new feature or bug fixing, you need to merge these changes in your master branch.
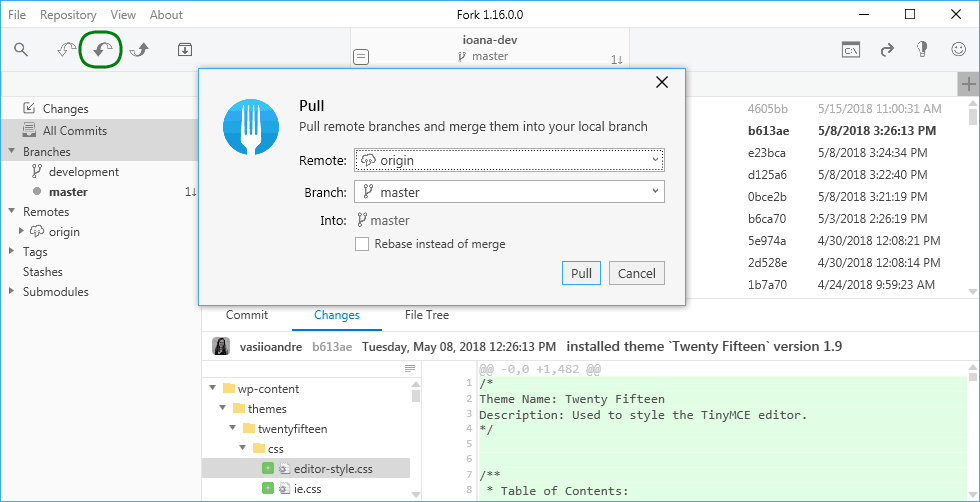
First, you need to go to your master branch and make sure you have all the modifications from the remote repository. To do this, press the Pull button, which applies the latest changes from a remote repository onto your local repository:
Then right-click the development branch and choose the Merge option.
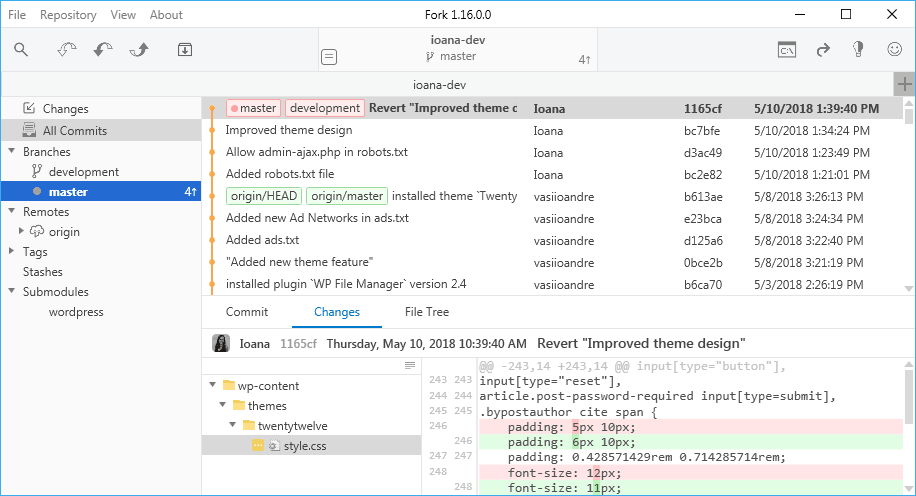
If there are no conflicts, your branch will be merged, and now your Master branch incorporates the changes too.
Step 4: Push your changes to the remote repository (origin/master branch)
A push updates remote references along with associated objects.
The origin/master branch is the remote repository and it still points to the code from the server. So, the last step would be to push the changes to your remote repository (development site or production one).
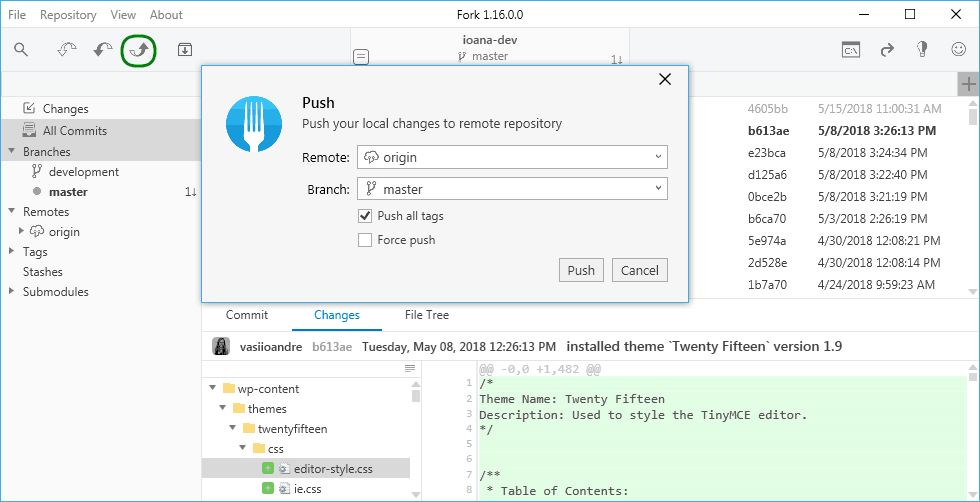
First, make sure you are on the Master branch. To push the changes you can either use the Push button, or right-click on the master branch and choose the Push option.
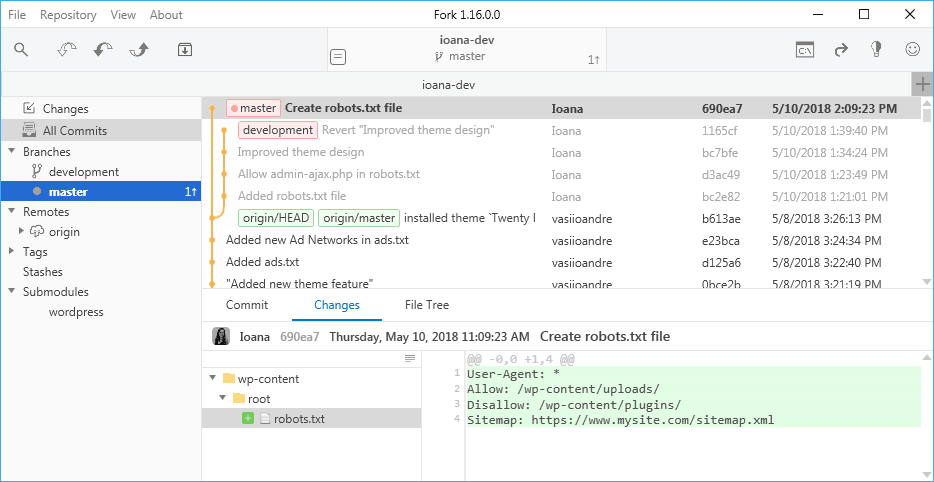
After pushing the changes to the remote repository, you can view them in our Gitea interface at git.presslabs.net or in your wp-admin in the Gitum plugin.
How to handle conflicts when merging the development branch
While merging your development branch into the master one, the first step is to make a Git Pull, which applies the latest changes from your remote repository (development one or production) to your local repository. This means that while you were developing locally, someone else might have made changes that you have also made.
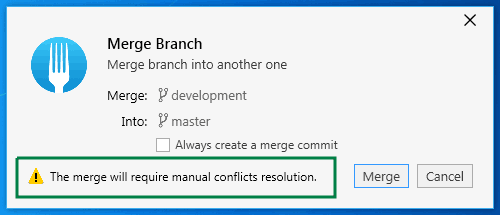
Let’s take an example. Let’s say that someone else has also modified the robots.txt file.
When trying to merge, you get a message saying that “The merge will require manual conflicts resolution”. Now you can Cancel the Merge, or continue it and fix the conflicts.
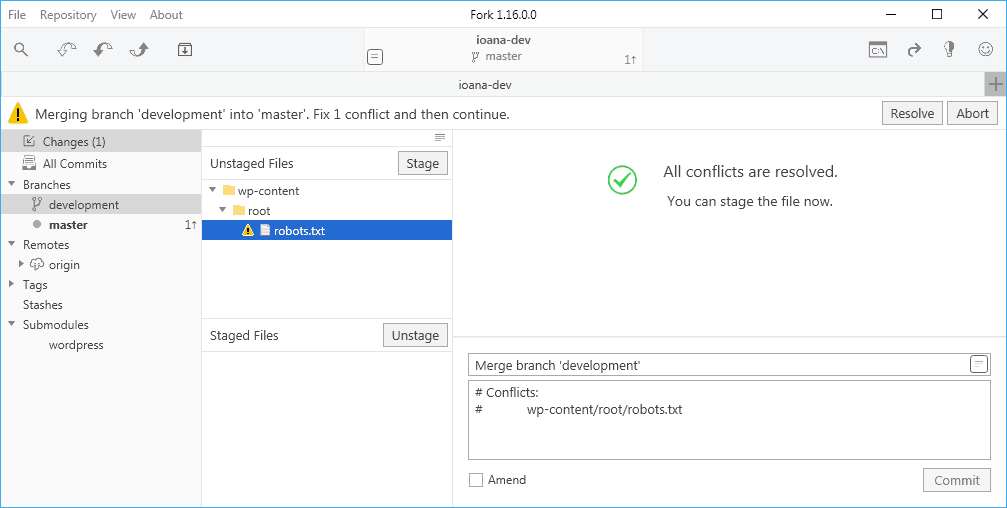
If you choose to continue the merge, go to the Changes section, to see what are the conflicts you need to solve.
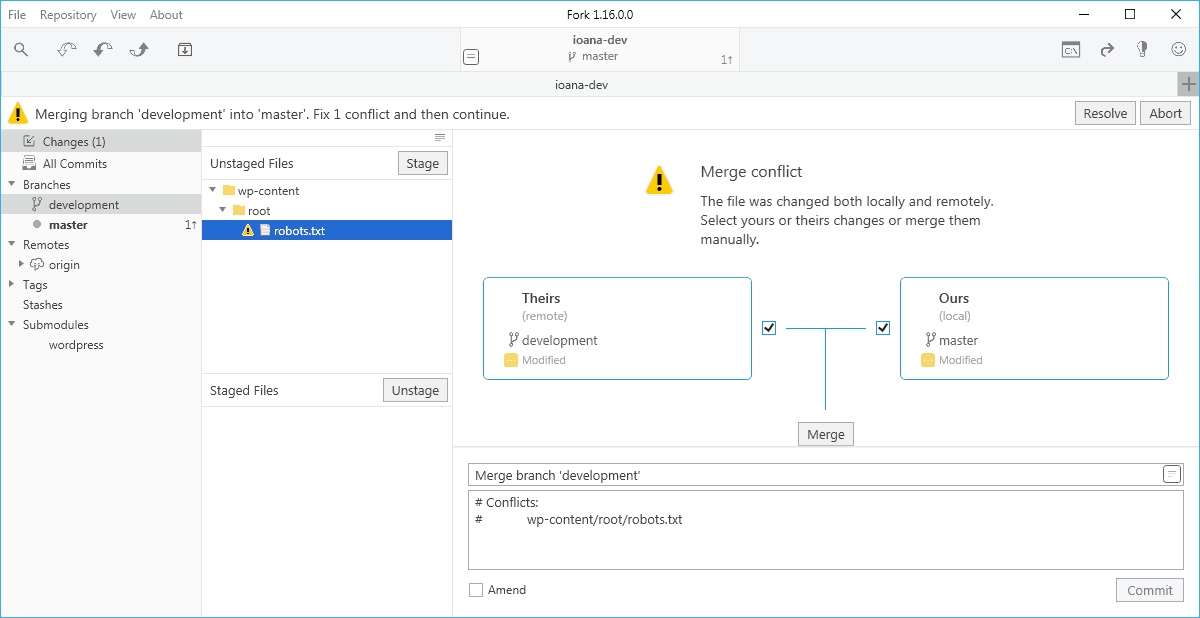
Here, you can see that the conflicted file is the robots.txt one. You can select what changes you want to keep (your local changes or the remote ones) and press the Merge button. However, here you do not see clearly the conflicted code lines, so go to your text editor for a better understanding of the conflicts:
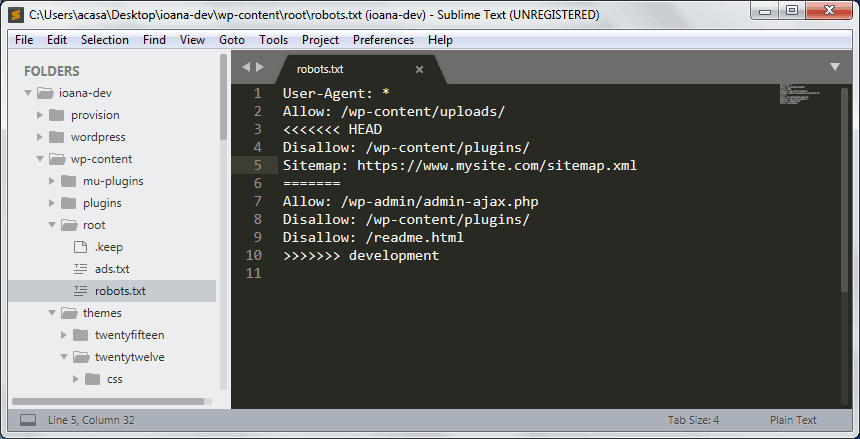
Here, you will see that the conflicted lines are marked down like this:
User-Agent: *
Allow: /wp-content/uploads/
<<<<<<< HEAD
Disallow: /wp-content/plugins
Sitemap: https://www.mysite.com/sitemap.xml
=======
Allow: /wp-admin/admin-ajax.php
Disallow: /wp-content/plugins
Disallow: /readme.html
>>>>>>> development
The lines between the <<<<<<< HEAD section and the separating ======= are the code from the master branch, and the ones between =======, and >>>>>>> development are from your development branch. You can now combine the code as you see fit (make sure to also consult with the person who made the changes on the remote repository) and don’t forget to remove the conflict separators:
User-Agent: *
Allow: /wp-content/uploads/
Allow: /wp-admin/admin-ajax.php
Disallow: /wp-content/plugins/
Disallow: /readme.html
Sitemap: https://www.mysite.com/sitemap.xml
Now, you need to commit the changes you have chosen, and the merge will be successful.