How to configure your SSH Keys
A step-by-step tutorial on how to generate and set up your SSH Keys in the Managed Hosting Dashboard in order to easily access your site’s source code via the SSH Protocol.
Overview
A common transport protocol for Git is SSH, which provides secure access to remote servers, in this case our git servers stack . This protocol consists of a SSH key pair, which includes a public key and a private key.
In order to be able to clone your code locally using the SSH url we provide, you need to generate a SSH key pair, and introduce the public key in the Managed Hosting Dashboard.
DANGER
If you add your developer’s public SSH Key in the Access menu from the Managed Hosting Dashboard, he will be granted Git access to all the sites roomed in your account. Visit our Access section for more information.
Step 1. Create a SSH key pair
A SSH key pair consists in a public key and a private key. You need to add the public key in the Managed Hosting Dashboard and store carefully the private key and not share it with anyone.
1. On Linux and MacOS
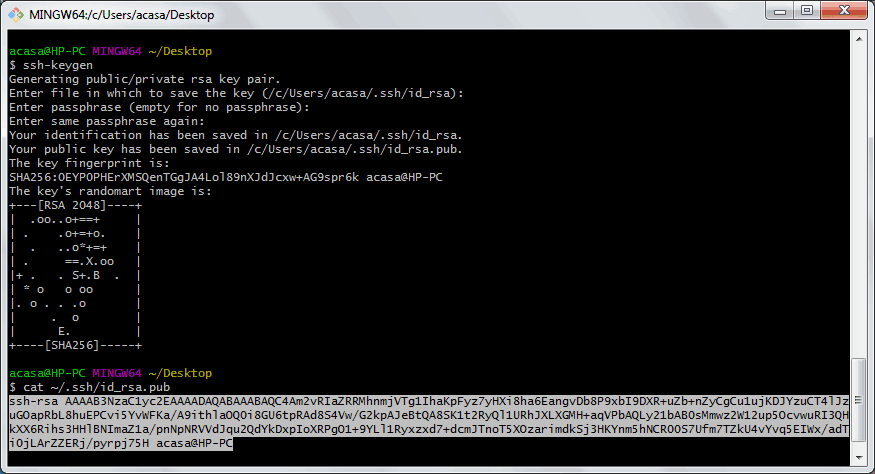
In order to create a SSH key pair on Linux or macOS, you need to use the ssh-keygen command. Simply open the terminal and run:
ssh-keygen
This command will require you to fill the next fields:
- Enter the file name where you want to save the key (
/home/<user_name>/.ssh/id_rsa) This means that if you leave this field empty and simply press ENTER, it will save the private key asid_rsaand the public key asid_rsa.pubin the/home/<user_name>/.ssh/directory. - Enter passphrase (empty for no passphrase)
- Enter same passphrase again
Now, in the .ssh directory you will have the two keys created. Unless you changed their names, the public key is id_rsa.pub and the private one is id_rsa.
Display the public key in the command line so you can copy it:
cat ~/.ssh/id_rsa.pub
An example of a public key can be seen below.

2. On Windows
Generate a SSH key pair from Git Bash
NOTE
If you have the Windows operating system, the recommended way is to install Git for Windows.
Git for Windows focuses on offering a lightweight, native set of tools that bring the full feature set of Git SCM to Windows while providing appropriate user interfaces for experienced Git users and novices alike.
It comes with a BASH emulation used to run Git from the command line, as well as a Git GUI. The installation is simple and straightforward.
This way, simply open the Git BASH command line and follow exactly the same steps as for Linux and macOS operating systems, using ssh-keygen.
Generate SSH key pair using PuTTYgen
PuTTYgen is a SSH keys generator tool for PuTTY, resembling the ssh-keygen from linux and macOS. PuTTYgen is normally installed as part of the normal PuTTY package installation, which you can install from
here
.
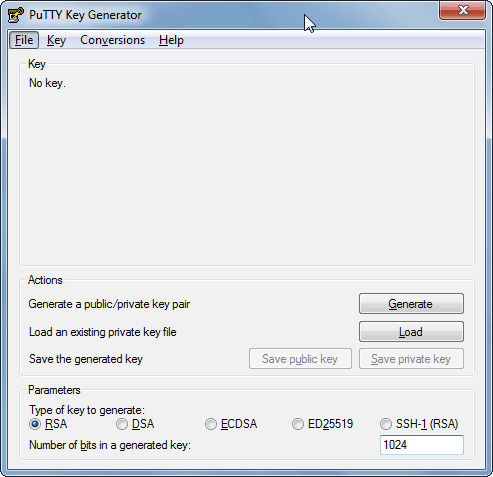
After installing PUTTYgen, go to Windows Start menu → All Programs → PuTTY→ PuTTYgen to start it.
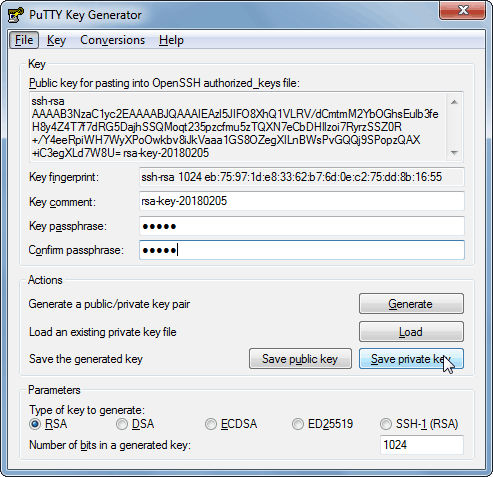
In order to generate a SSH Key Pair, simply press the Generate button, then move your mouse in order to generate some randomness.
You need to save your private key and store it in the /home/<user_name>/.ssh/ directory, along with your public key. You need to copy the public key shown here, and introduce it in the Managed Hosting Dashboard as shown at Step 2.
Step 2. Add your public key to our dashboard
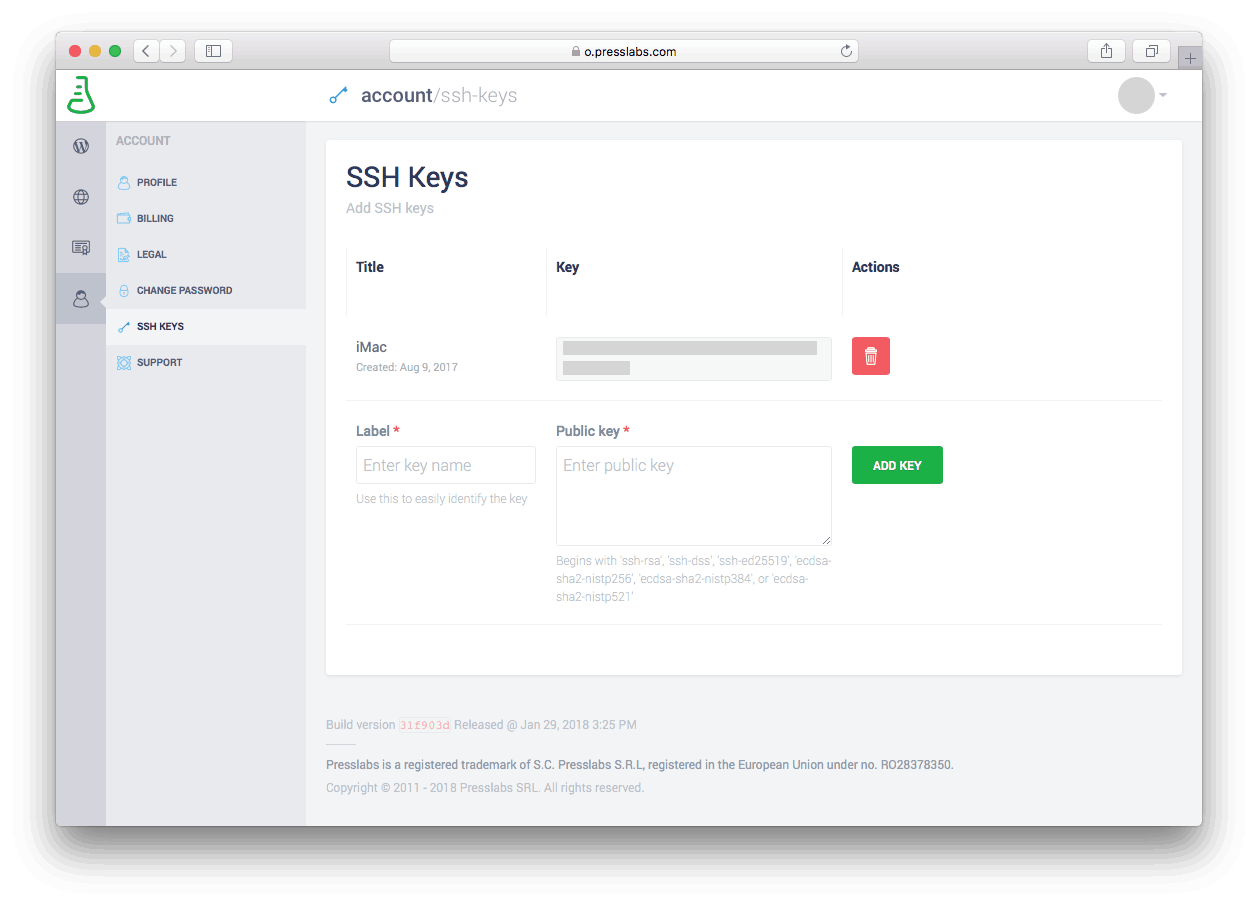
You need to upload the public key in our Dashboard in the SSH Keys Section. The private key needs to be stored and handled carefully, and no copies of the private key should be distributed.
Go to https://o.presslabs.com/#/account/ssh-keys , as seen below.
Here you need to fill in the blanks:
- Label: set a label for your key
- Public Key: paste the public key copied from the terminal.
Step 3. Install and configure Git
You can install Git on all operating systems. Check their official installation guide here . For Windows, we recommend you to install Git for Windows , which provides a BASH emulation used to run Git from the command line.
Git is usually preinstalled on Mac and Linux, so to check if it’s already installed, open the terminal and type:
$ git --version
You should receive a message that informs you about your computer’s current Git version. If you don’t receive it, you need to install it.
After installing git, you need to configure your Git username and email address, since every Git commit will use this information to identify you as the author.
$ git config --global user.name "YOUR_USERNAME"
Then verify that you have the correct username:
$ git config --global user.name
To set your email address, type the following command:
$ git config --global user.email "your_email_address@example.com"
To verify that you entered your email correctly, type:
$ git config --global user.email
The --global option tells Git to always use this username and email address for any activity you perform on that system.
Step 4. Clone your code locally
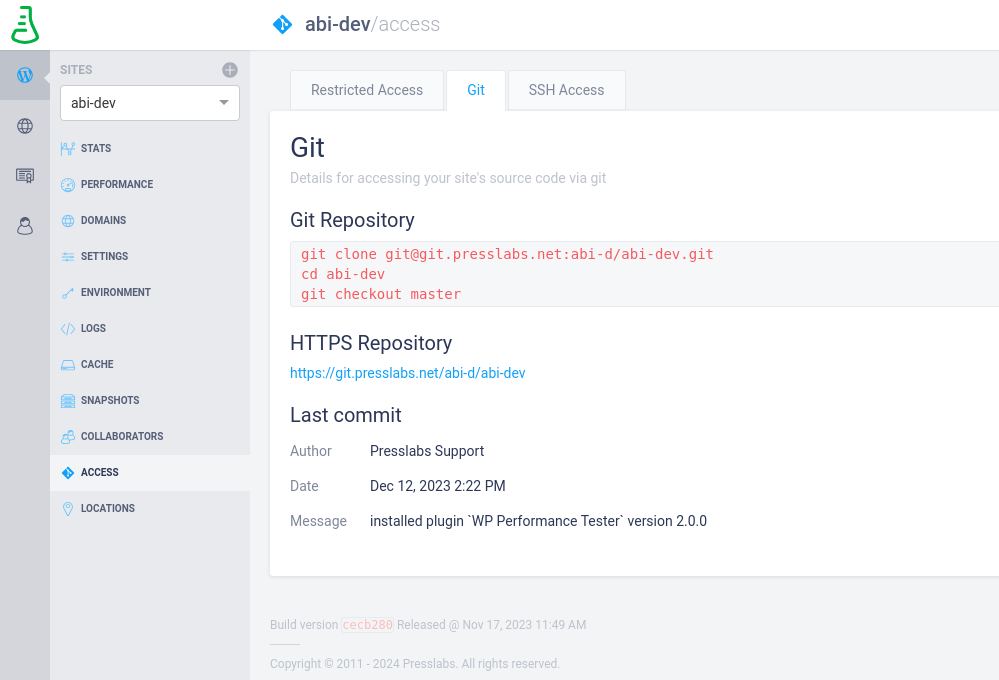
Now you can clone your code locally. The clone URL can be found in the Access section in the Managed Hosting Dashboard:
git clone git@git.presslabs.net:user/mysite.git
cd mysite
git checkout master
If you can see the repository and files inside it on your local environment, you are done! Congratulations!
Now, you can move forward to the next section on how to use git.
FAQ
Can I use ssh-keygen on windows?
Yes, you can generate a SSH key pair on Windows operating systems using ssh-keygen if you install Git for Windows, check Generate a SSH key pair from Git Bash .