Git for total beginners
All sites hosted with Presslabs are stored on Git repositories; therefore, you need some basic Git knowledge in order to be able to manage them. Git usually seems a little overwhelming for newcomers, so we’ve put together the most basic Git command lines you need to know to make changes to your site’s code.
Although you can now use our Gitea interface to edit files directly in your browser and commit the changes you’ve made, for more complex development or bug fixing issues you need to work on your code locally. You can do this via git command lines, or by using a Git Client.
If you fear the mighty terminal or simply want to better visualize the changes you’ve made, we recommend you to use Git Client. We’ve put together some tutorials for GitHub Desktop and Fork, for both Windows and macOS.
This tutorial focuses on using Git from the command line, the only place where you can run all Git commands. It aims to shed some light over the most basic git command lines you need to know in order to manage your site’s code on Presslabs.
You can install Git on any operating system. Please check their official installation guide beforehand. For Windows, we recommend you to install Git for Windows , which provides a BASH emulation used to run Git from the command line.
You will also need a text editor to open and modify your files, e.g Atom , or Sublime etc, which you can download and install from their corresponding sites.
Git Intro
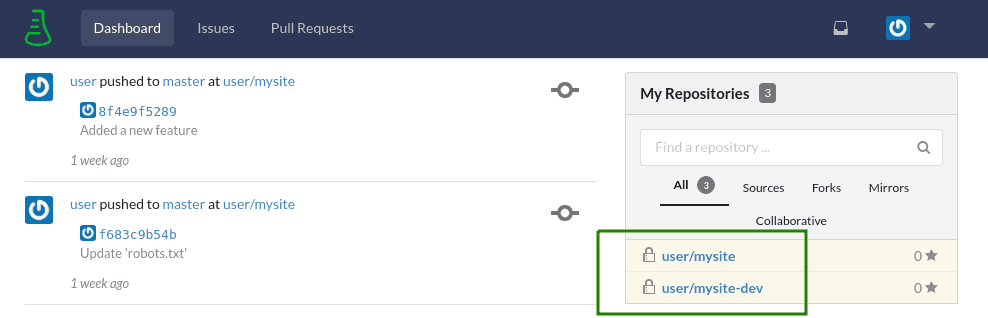
Each site hosted by Presslabs has its own repository. A repository (usually abbreviated “repo”) is the location where all the files for a particular project are being stored, in our case, your site’s source code. The easiest way to access your repositories is through our Gitea interface at git.presslabs.com .
At Presslabs, we offer free development sites, each having its own corresponding repository.
The general workflow is to clone your development site locally using git, edit the code of the dev site in your favorite text editor, commit the changes and then push the commits on the development site for testing purposes. After ensuring that everything is alright, repeat the same steps on the production site.
To clone a repository implies to create a local copy of your code, so you can develop a new feature or make fixes to the current code. The local copy of the code will be referred to as the local repository and your site’s source code (the production one or the development one) will be referred to as the remote repository.
A commit is basically the Git equivalent of “Save”. It keeps track of the changes made to your repository. After making some changes, you “save them” (commit them), giving them a short message that describes the changes that have been made.
To make these changes visible on your site, you need to push the commits you’ve made to your remote repository (production site or development site).
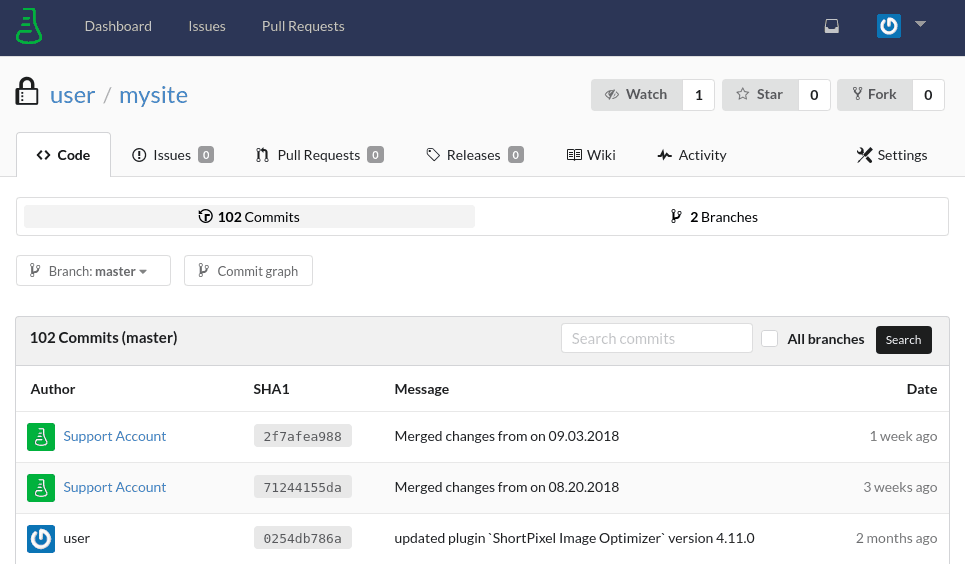
You can see all the commits pushed to your remote repository in Gitea , in the Commits section of each repository.
Install and configure Git
You can install Git on all operating systems. Check their official installation guide here . For Windows, we recommend you to install Git for Windows , which provides a BASH emulation used to run Git from the command line.
Git is usually preinstalled on Mac and Linux, so to check if it’s already installed, open the terminal and type:
$ git --version
You should receive a message that informs you about your computer’s current Git version. If you don’t receive it, you need to install it.
After installing git, you need to configure your Git username and email address, since every Git commit will use this information to identify you as the author.
$ git config --global user.name "YOUR_USERNAME"
Then verify that you have the correct username:
$ git config --global user.name
To set your email address, type the following command:
$ git config --global user.email "your_email_address@example.com"
To verify that you entered your email correctly, type:
$ git config --global user.email
The --global option tells Git to always use this username and email address for any activity you perform on that system.
Clone your repository
In the terminal, navigate to the location where you want to clone your code, for example:
$ cd Desktop
In case you are a total beginner in working with command lines, here is a great tutorial that explains the two basic navigation commands: ls and cd.
The easiest way to clone your repository is using the HTTPS URL which you can find in Gitea .
WARNING
The examples below will use the instance mysite-dev to encourage you to test your changes on the dev site first. Don’t forget to replace mysite-dev with the actual name of your instance, development or production one.
You will be asked to authenticate using your Managed Hosting Dashboard credentials. If you don’t want to type the credentials everytime you clone the repository, you can configure your SSH Keys .
$ git clone https://git.presslabs.net/user/mysite-dev
Cloning into 'mysite-dev'...
Username for 'https://git.presslabs.net': user
Password for 'https://user@git.presslabs.net':
remote: Counting objects: 766, done.
remote: Compressing objects: 100% (344/344), done.
remote: Total 766 (delta 406), reused 743 (delta 394)
Receiving objects: 100% (766/766), 2.54 MiB | 2.48 MiB/s, done.
Resolving deltas: 100% (406/406), done.
Go to the repository directory:
$ cd mysite-dev
You can run a ls -lh command to visualize your repository’s content:
$ ls -lh
total 32K
-rw-r--r-- 1 user user  428 sep 17 15:42 index.php
-rw-r--r-- 1 user user   17 sep 17 15:42 info.php
drwxr-xr-x 3 user user 4,0K sep 17 15:42 provision
-rw-r--r-- 1 user user  636 sep 17 15:42 README.md
-rw-r--r-- 1 user user  808 sep 17 15:42 Vagrantfile
drwxr-xr-x 2 user user 4,0K sep 17 15:42 wordpress
-rw-r--r-- 1 user user 3,0K sep 17 15:42 wp-config-vagrant.php
drwxr-xr-x 8 user user 4,0K sep 17 15:42 wp-content
Check out your Git status:
$ git status
On branch master
Your branch is up to date with 'origin/master'.

nothing to commit, working tree clean
This will print some basic information, such as which files have recently been modified. In this case, there are no changes made yet.
You should check your status anytime you’re confused. Git will give you suggestions on what to do next in order to help you out.
Making Changes and Committing Them
Any change you make on your repository’s files and directories will be recorded. To see them, use the git status command mentioned before.
Let’s say you want to add a robots.txt file, which holds great importance for search engines such as Google that index your site’s web content. On our platform, the robots.txt file should be placed in the /wp-content/root/ directory.
If you open the project in Atom to add the robots.txt file, Atom will intuitively display the new files you’ve added (in green) or modified (yellow) and have not been committed yet. Atom comes with built-in basic Git and GitHub integration , which means you can also make commits directly from the Atom interface, but this isn’t the point of this tutorial.

You can run a git status command to show you the modified files:
git status
On branch development
Untracked files:
  (use "git add <file>..." to include in what will be committed)

        wp-content/root/robots.txt

nothing added to commit but untracked files present (use "git add" to track)
Before making a commit with the changes, you need to add them. This operation is called staging the files, which means “prepare them to be committed”. You can see that the git status command above also suggests you to use git add
$ git add wp-content/root/robots.txt
If you have lots of changed files and you want to include all of them in the next commit, you can use git add -A.
To undo a file you added but hasn’t yet been committed, you can run a reset command, followed by the name of the file in question:
$ git reset wp-content/root/robots.txt
After you’ve finished staging the changes, the next step is to wrap them up into a commit:
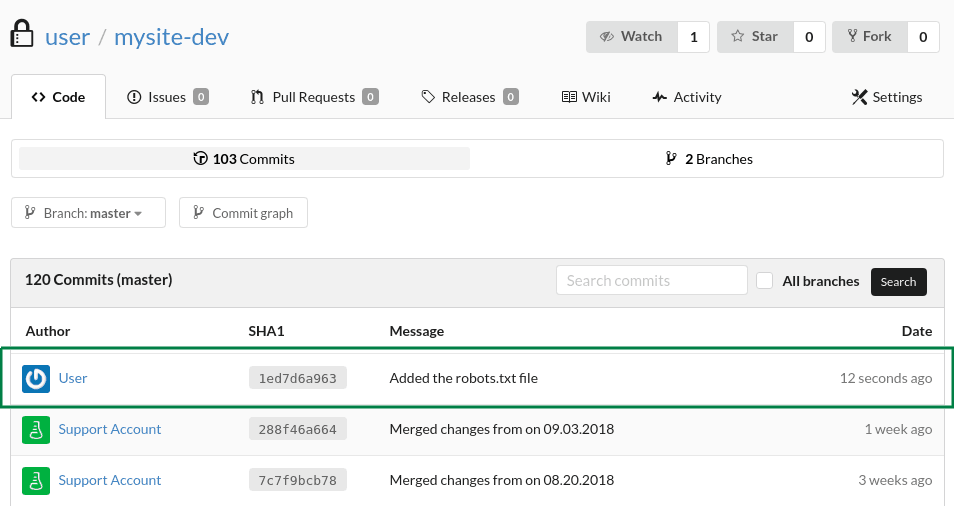
$ git commit -m "Added the robots.txt file"
To visualize the history of the commits, you can run a git log command. This will show you all the commits you’ve performed, together with a commit message for each of them, so they can be easily identified — this is the reason why the commit message is so important.
$ git log
commit 072f7d92de54852e8212279420dae80a35e96015 (HEAD -> master, origin/master, origin/HEAD)
Author: user <user@domain.com>
Date:   Mon Aug 20 16:18:18 2018 +0300

    Added the robots.txt file

commit 3cce2c7ff81a5f8d6c6a7b0b5c1c7c1f2ad77282
Author: user <user@domain.com>
Date:   Mon Aug 20 15:54:20 2018 +0300

    Added a new feature

commit 88c6e01e696cec8e6cbb9c0f75f20c62c05adb74
Author: user <user@domain.com>
Date:   Fri Aug 17 13:49:23 2018 +0300

    Revert "Improved the theme"

    This reverts commit 3395683f3e320eda9e5ec57f7c81224ced6922af.

commit 3395683f3e320eda9e5ec57f7c81224ced6922af
Author: user <user@domain.com>
Date:   Fri Aug 17 13:30:59 2018 +0300

    Improved the theme
Each Git commit is identified by a unique SHA-1 hash, which you will need for certain Git operations.
Revert a Commit
To undo a commit, you can run a git revert command, followed by the SHA of the commit in question. You can get the SHA of the commits by running a git log command. This will generate a new commit that undoes all the changes made in the commit you want to revert.
$ git revert 6ffa13ce23238c2f7f7425e8e966bbff8091a1ca
$ git push
WARNING
This is the only possible operation to undo a commit on a production site. Check our FAQ I have made a commit and put my site down. What do I do next? for more details.
Pushing the Changes
The newly added robots.txt file is now on your local computer. In order to make it available on your site, you need to push the commit to the remote repository, e.g. mysite-dev.com.
While you were developing locally, someone else may have made changes on the remote repository, so you need to bring the changes to your local repository, as well. To do this, run a git pull command:
$ git pull
Username for 'https://git.presslabs.net': user
Password for 'https://user@git.presslabs.net':
Already up to date.
You will be asked to enter your Managed Hosting Dashboard credentials again.
If there are no changes made on the remote repository, you will be notified that you’re “Already up to date”. If there are changes, they will be automatically merged into your local repository.
Be aware that in case someone else has made changes to the same files as you have, there will appear some conflicts you need to fix, check Conflicts when pulling the changes
Now that your local repository is up to date with the remote one, you can push your changes:
$ git push
Username for 'https://git.presslabs.net': user
Password for 'https://user@git.presslabs.net':
Enumerating objects: 8, done.
Counting objects: 100% (8/8), done.
Delta compression using up to 4 threads.
Compressing objects: 100% (3/3), done.
Writing objects: 100% (5/5), 534 bytes | 534.00 KiB/s, done.
Total 5 (delta 2), reused 4 (delta 2)
To https://git.presslabs.net/user/mysite-dev.git
   3cce2c7..072f7d9  master -> master
You can visualize the changes on Gitea , in the Commits section of your repository.
Conflicts when pulling the changes
If someone else has made changes to the same files as you have, when you run a git pull there will appear some conflicts you will need to resolve.
For example, if someone else has added a robots.txt file, but with different fields than what you have added, the command git pull will generate the following result:
Username for 'https://git.presslabs.net': user
Password for 'https://user@git.presslabs.net':
remote: Counting objects: 19, done.
remote: Compressing objects: 100% (15/15), done.
remote: Total 19 (delta 10), reused 0 (delta 0)
Unpacking objects: 100% (19/19), done.
From https://git.presslabs.net/user/mysite-dev
   8f4e9f5..e8db384  master     -> origin/master
Auto-merging wp-content/root/robots.txt
CONFLICT (add/add): Merge conflict in wp-content/root/robots.txt
Automatic merge failed; fix conflicts and then commit the result.
Git intuitively informs you there is a CONFLICT (add/add), meaning that both you and someone else have added the robots.txt file.
To solve any conflict, go to you text editor. The conflicts will be displayed between <<<<<<< and >>>>>>> brackets. To find all conflicts, you can run a search in your text editor for these brackets. In this case, will be just one, in the robots.txt file. The lines between the <<<<<<< HEAD section and the separating ======= represent the code from the local repository, and the ones below are from the remote repository.
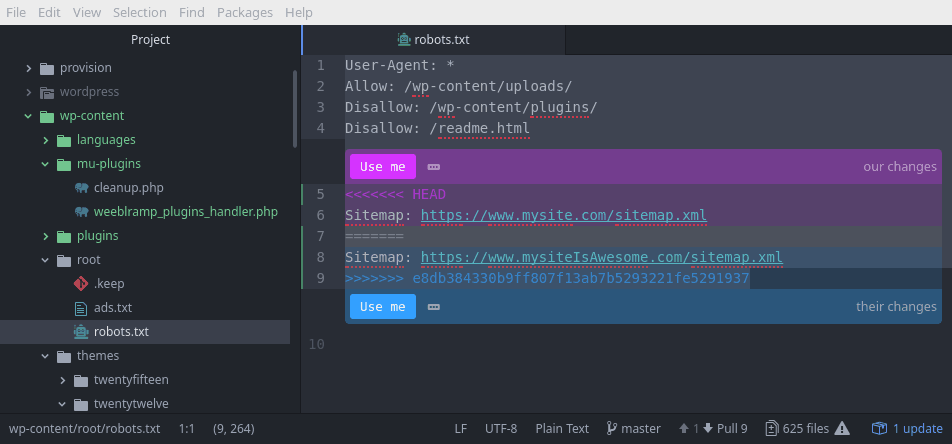
You need to remove all the conflict marking lines (the ones having <<<<<<<, =======,>>>>>>>) and keep the changes you need. In this particular case, the conflict is at the last line of the robots.txt file. On the local repository it’s Sitemap: https://www.mysite.com/sitemap.xml while on the remote repository it’s Sitemap: https://www.mysiteIsAwesome.com/sitemap.xml.
Lets say we go with www.mysiteIsAwesome.com, because our site is awesome. So we manually remove the other line, along with the conflict-marking lines. Now the robots.txt file looks like this:
User-Agent: *
Allow: /wp-content/uploads/
Disallow: /wp-content/plugins/
Disallow: /readme.html
Sitemap: https://www.mysiteIsAwesome.com/sitemap.xml
Atom offers you the possibility to choose which changes to keep, with a simple click. Simply click the Use me button corresponding to the changes you want to keep (in this case their changes), and Atom will take care of removing the conflict-marking lines.
Now go back to the terminal and run a git status:
$ git status
On branch master
Your branch and 'origin/master' have diverged,
and have 1 and 3 different commits each, respectively.
  (use "git pull" to merge the remote branch into yours)

You have unmerged paths.
  (fix conflicts and run "git commit")
  (use "git merge --abort" to abort the merge)

Unmerged paths:
  (use "git add <file>..." to mark resolution)

        both added:      wp-content/root/robots.txt
As suggested, now that the conflicts are fixed, we need to add them and then commit them:
$ git add wp-content/root/robots.txt
$ git commit -m "Fixed the conflicts in adding the robots.txt file"
All you’ve got to do now is to run git push to make the changes visible on your site.